Happy Thursday!
One of my favorite things to do before and after a ride is groom a horse. There’s something about it that is so relaxing for me. I feel like I could honestly groom a horse for hours! Grooming is really good for keeping off all the mud and dirt that gets on your horse that could lead to irritation or other unpleasant circumstances.
Today I am going to walk you through a basic step-by-step process for how I usually take care of Brandy before and after a ride. Now, keep in mind that every horse needs different care and more or less of what is shown can be done on a day to day basis. I may share some things here that you might not necessarily need for your current or future horse. I also am always wanting to learn, so if there’s anything you do in particular, I’d love to know in the comments below!
Step One: Grab A Curry Comb Or Grooming Mitt
A curry comb is the first brush used. Curry comb brushes can come in a few different types, each having a different use:
-
Plastic: Gentle on most parts of the horse.
-
Metal: Good for heavy dirt/mud or for thick hair. It is not recommended to use this type on any sensitive areas such as the legs, flank, face, or stomach.
-
Rubber: Very gentle and can be used all over, including the face!
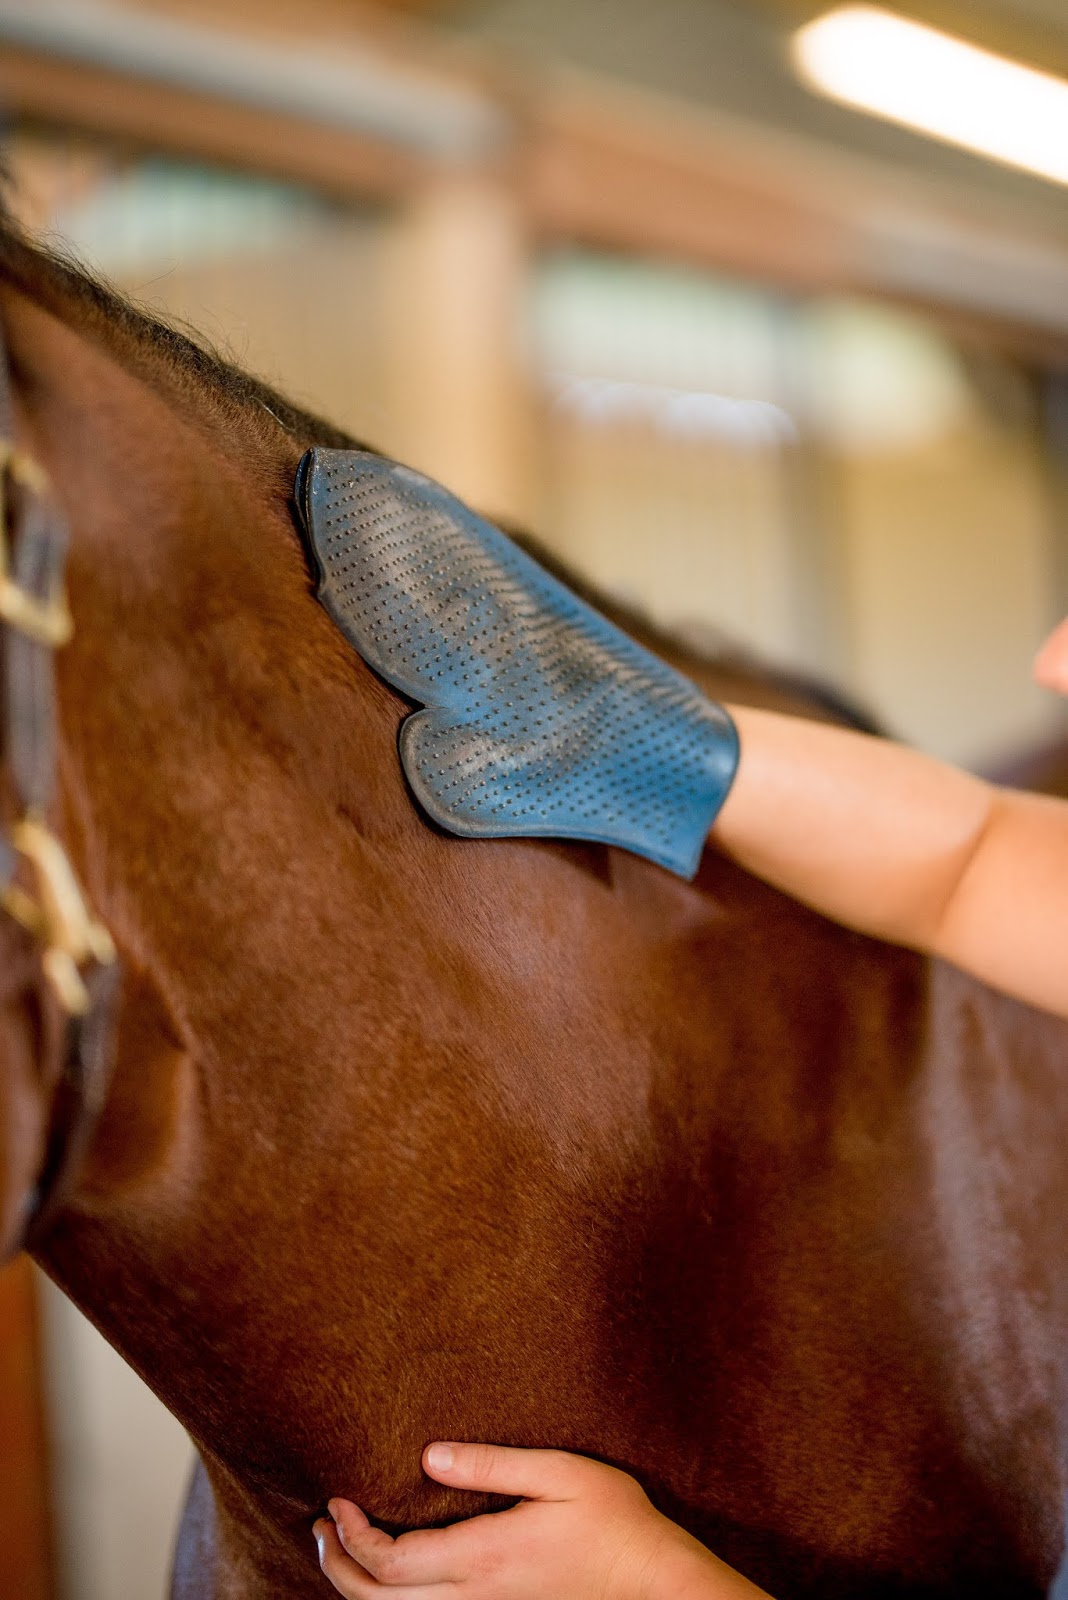
With your curry comb or grooming mitt, start at the neck and begin brushing your horse in a circular motion that goes in the direction of your horse’s hair. It’s always good to note how your horse reacts to the brush that you’re using. If they lean into you, have their heads down, or even have their ears turned out, they are relaxed and enjoy what you’re doing. If your horse is more sensitive, you could even try using a jelly mitt.
Always make sure to be gentle on the most common sensitive areas such as the legs, elbows, where the girth lies, and their spine. These bony areas need softer brushing to make the grooming as comfortable for the horse as possible.
Make sure to clean out your curry comb by hitting it against a wall or by tapping it from the back with your hand when you’re done to remove any dirt or skin that may have stayed on. It’s always good to keep your brushes clean!
Step Two: Grab Your Soft Brush/Body Brush
After you’ve curried the body, the next step is to use your soft brush/body brush to brush away the loosened dirt and hair. I love doing this because this always makes the horse’s hair nice and soft. Follow the hair with short strokes over the horse’s body. Since this brush has long and firm bristles, it can brush in places that the curry comb may not have been able to get to as easily such as the inner curve by the flank.
Make sure to be gentle when brushing your horse’s face. I know when I’m brushing Brandy’s face, I always try to find the softest brush that I can find just because I want her to be comfortable. It is very important to keep your horse’s face clean through brushing and washing. When your horse’s face isn’t clean, it can lead to the skin issues, potentially causing the hair to stop growing.
Step Three: Grab Your Hoof Pick
Now it’s time to clean your horse’s hooves. Now, you can do the brushing or the hooves first, it doesn’t really matter. It’s all up to personal preference! To get your horse to lift up it’s foot, stand on the outside of the leg, run your hand down the inside of the leg (see second photo) and simply lean a little against the horse. The horse will know that you are wanting it to lift it’s foot. Some people even use verbal commands like “up.” Brandy is really good and knows that when I grab her foot that she should lift it.
Horse’s hooves are like our fingernails. I can’t stand when I’ve got a ton of dirt in my nails. It just feels uncomfortable. That is the same feeling that horses get. So, when you’re cleaning their hooves, it usually feels really good to them.
It’s always important to always keep their hooves clean because rocks can wedge their way in, causing a lot of discomfort or even lameness.
To clean the hoof, take your hoof pick and first pick inside of the “V” part of the hoof (also known as the frog). Once you have done that, continue picking out any other lodged dirt in the sole of the foot.
Click Here for a great resource of the anatomy of the horse’s hoof.
Step Four: Use Durasole On “V” Part Of The Frog
Durasole is one of the first horse care products I was introduced to when I first started at the barn. Durasole is a liquid used to thicken and toughen the sole and frog of the horse’s hooves. You can apply this before or after you ride, but make sure that you put it on when your horse’s hooves are dry.
When I apply it, I put the tip of the bottle into the “V” and run it through. Then I grab the brush end of my hoof pick and rub it in the frog and all over the sole so that the entire hoof is covered. Since there is so much moisture in Florida, it’s good to protect the horse’s hooves from all of that wetness.
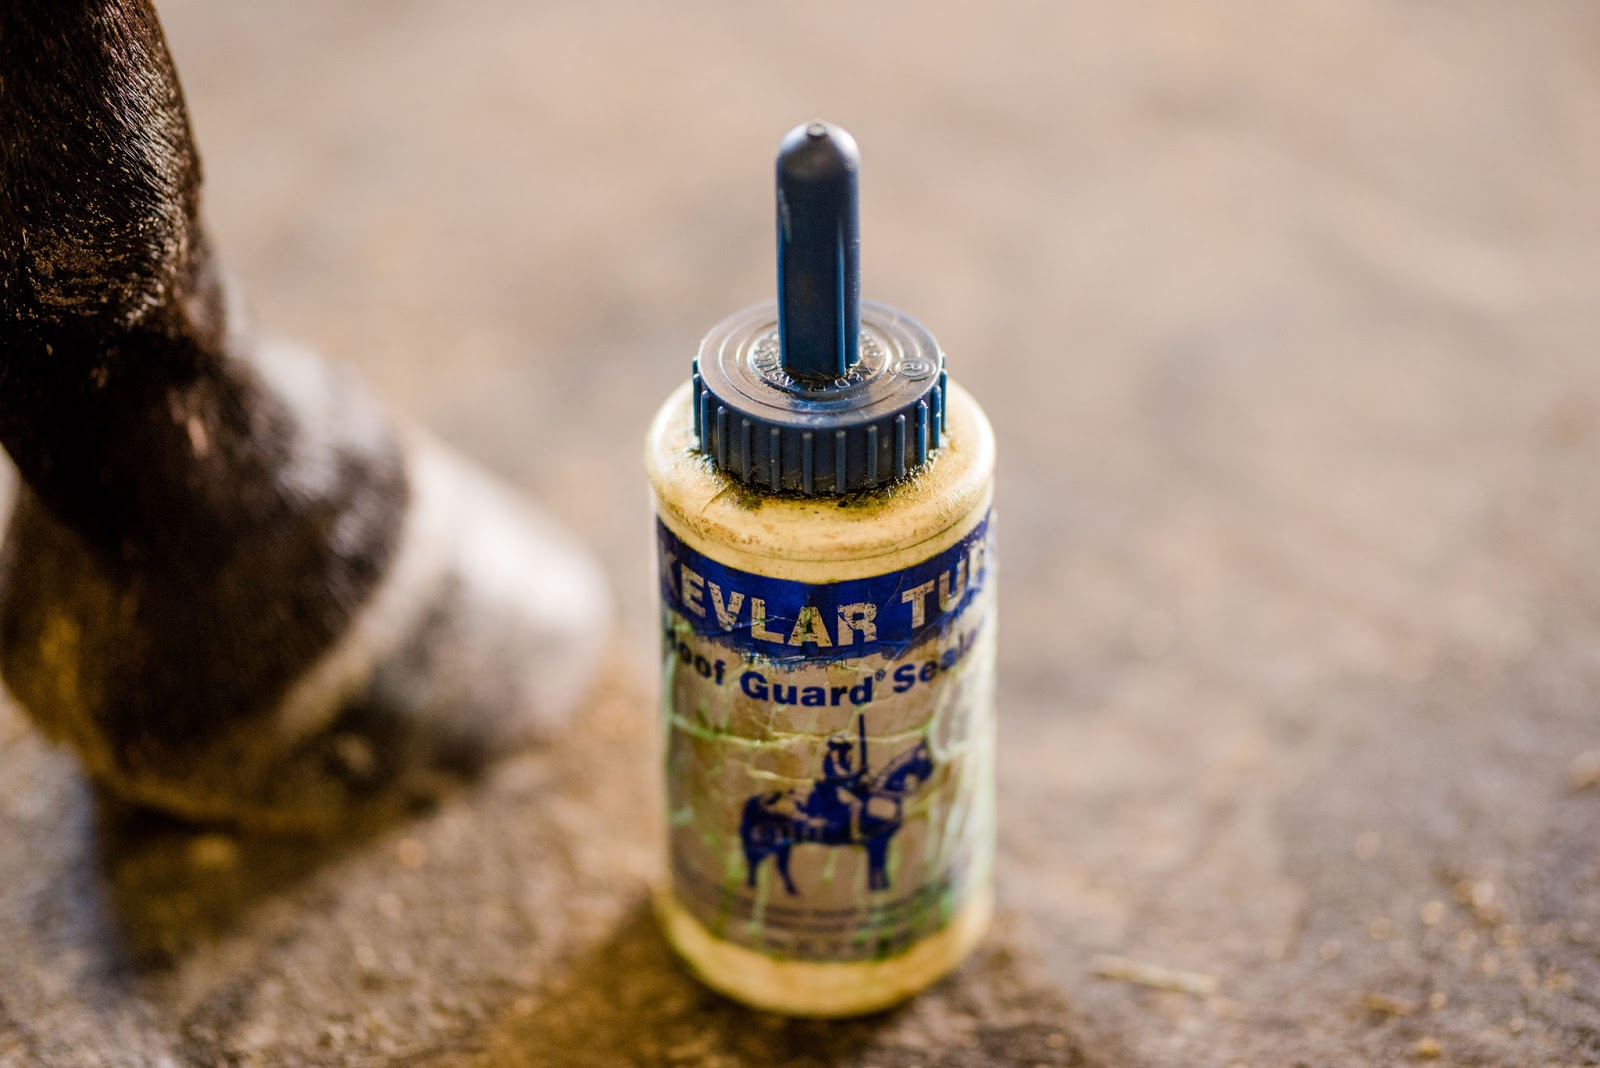
Step Five: Grab Your Kevlar Tuff Hoof Sealant
Last but not least, we like to cover the top and bottom of the horse’s hooves with
Kevlar Tuff’s Horse Hoof Sealant. This is great for strengthening your horse’s hooves as well as keeping excess moisture out. I like to think of this as that top coat of nail polish for your horse. The layer that hardens your nails and makes them strong.
To apply, simply unscrew the top of the bottle (it’s the brush) and brush on a nice layer on the entire bottom of your hoof and then apply to the top as well (see photos below).
As mentioned earlier, there are some added steps in here that some riders might not use. I also did not include some other basic steps such as brushing out the main and tail, adding fly spray, etc..
I hope that this walk through was helpful and that you feel excited and ready to go groom your best friend! I would love to hear about your day to day grooming steps that you do, as well as any great products that you use.
Thanks for reading!